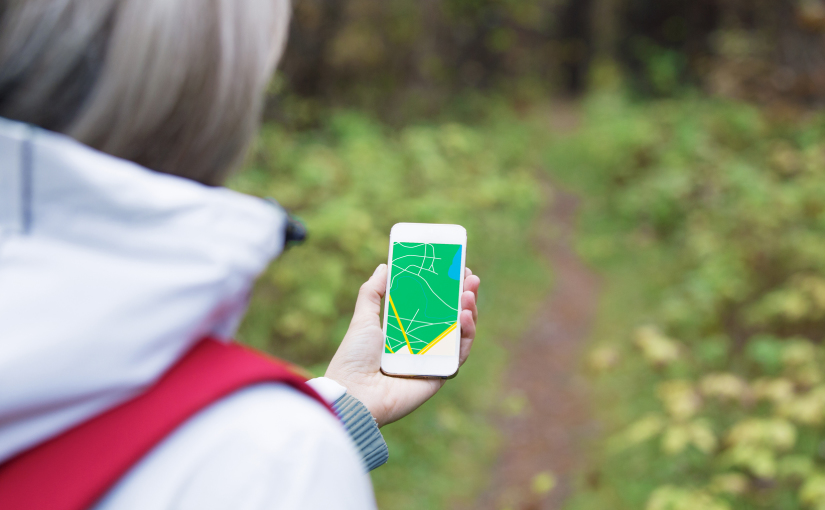
When you start your VoiceMap, the first step is plotting your route. If your route goes through a city, it’s easy to do using our online tool. Landmarks and streets are easily visible, and you can flip between the map, satellite photographs and street view. But for routes on outdoor paths, it can be hard to see where to put the line. Isolating small landmarks that aren’t visible on maps is tricky too, and it’s best to use a GPS logger application.
At the moment, you can’t upload these files directly to VoiceMap, but you can use GPS tracks and waypoints as a reference, to make sure everything is in the right place. You can also enter co-ordinates into search box in VoiceMap’s mapping tool, to add new locations. For more information on uploading the file directly, feel free to chat to us about it at [email protected]
We use the following two free apps, for iPhones and Android devices respectively. There are many others and if you get better results with other tools, please let us know.
iPhone users:
We recommend using myTracks.
To create a KML track:
- Tap the REC button in the bottom left corner of the screen, then tap Start recording to begin recording your log.
- If you want to pause the recording, tap REC again and tap Pause recording.
- At the end of the route, tap REC and choose Stop recording.
- To export your route, tap the folder icon at the bottom of the screen, select your log, and then tap the i icon in the top right of the screen.
- Tap the export icon to export your log. You can either export and then sync it to your computer, or just email it to yourself.
To create waypoints to indicate the map markers:
- While recording, click the flag icon on the bottom of the screen. Give it a name, and tap Done.
- Each time you’d like to add a waypoint, repeat those steps.
These will give you a good point of reference to imitate with our mapping tool.
For more information, visit myTracks user guide.
Android users:
We recommend using the imaginatively named GPS Logger.
To create a KML / GPX track:
- Open the GPS Logger app.
- Wait for the app to find your GPS coordinates (GPS Fix).
- Then tap Track.
- When you’re ready to move, tap Record at the bottom right corner.
- Then tap Lock at the bottom left corner. This disables the button bar at the bottom.
- You can then lock your screen, put your phone away and walk the route.
- When you’re done, unlock your screen then tap Lock again to enable the button bar.
- Then tap Stop.
- Enter the name of your Track. Ex. “Vatican Perimeter walk” then tap OK.
- To find your recorded track tap Tracklist in the top right corner and select the route you just recorded.
- Once it’s highlighted, tap the Share button and email it to [email protected]. This will send a KML and GPX file.
To add waypoints as you walk, for the various points of interest: (Don’t lock the Button bar)
- While you record your walk, stop walking when you reach the point of interest then tap Annotate.
- In the pop-up block enter the title then tap Add.
- Continue walking and adding Annotations as you go.
- Once done, follow the steps outlined above to stop and share the recording.
Once you’ve exported all your geo-data, you’ll be able to open it up in Google Earth. Then, all you need to do is plot it out using our mapping tools.