Creating a VoiceMap audio tour is easy, intuitive and a great way to tell your stories, but there are also a few new things to be learned. Recording the best possible quality audio for your tour will mean more people enjoying and sharing it. It’s your voice that will be giving directions and telling stories, so this tutorial will help you to create the best possible audio using your Android device.
Installing a Voice Recorder
1. Go to the Google Play store and download Smart Voice Recorder (free).
![]()
2. Install and launch the application.
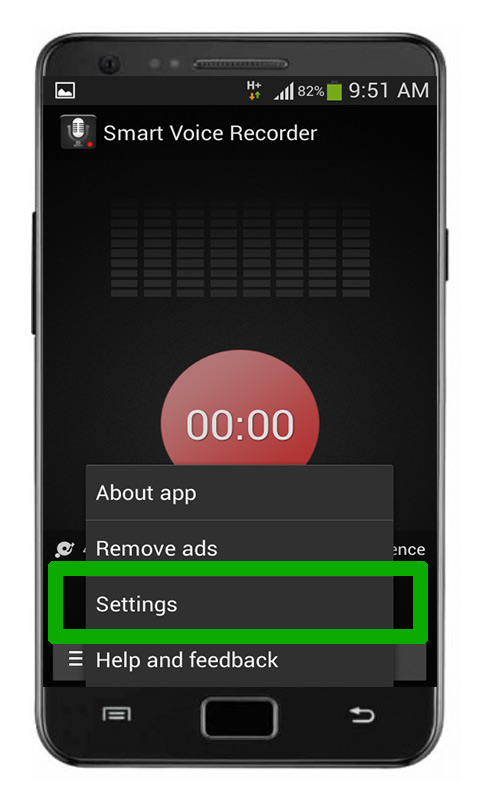
3. Touch the bottom left Android menu button to open Settings.
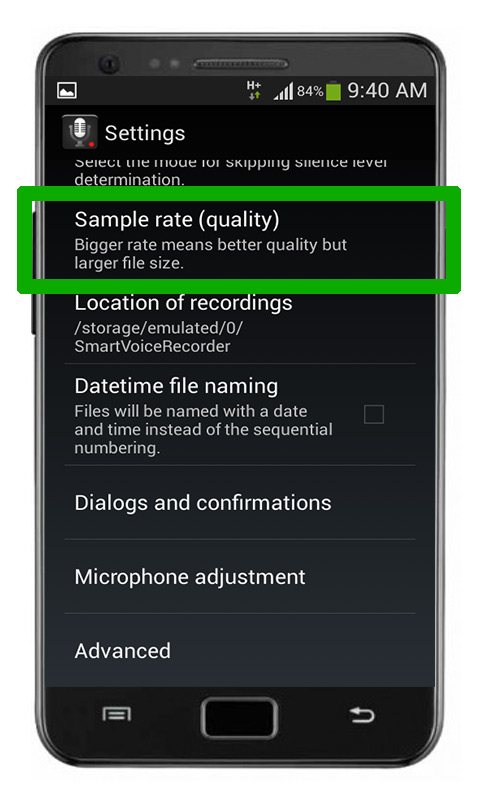
4. Select Sample rate (quality)
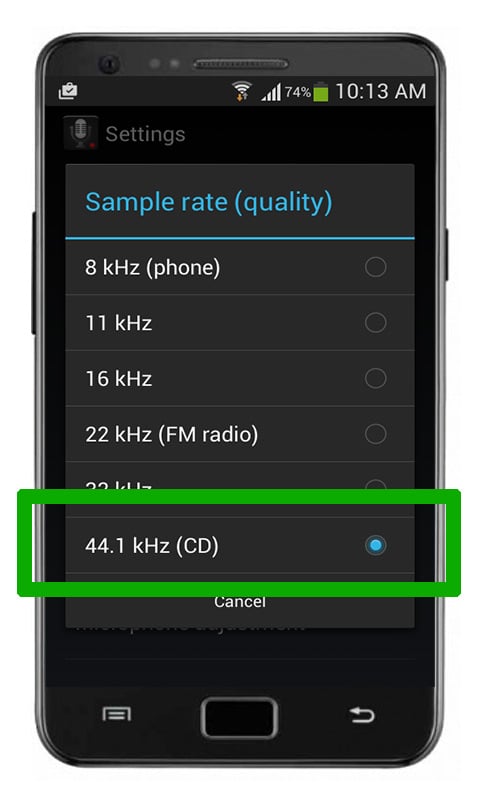
5. Select 44.1kHz (CD)
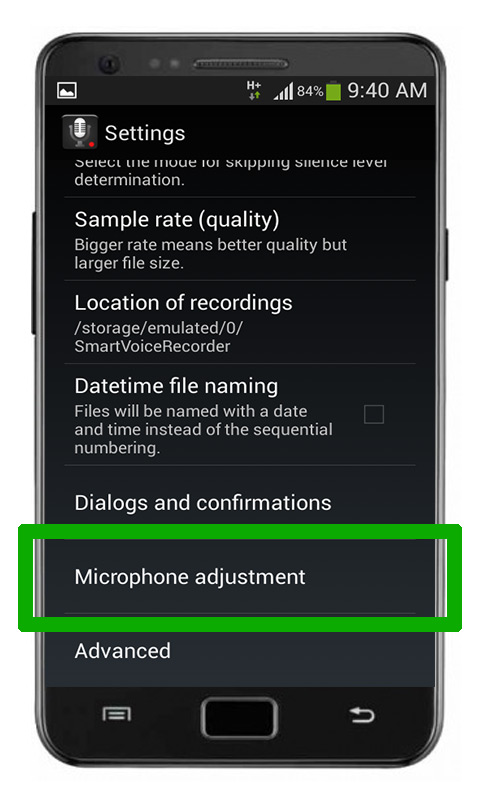
6. Go back to the menu and select Microphone adjustment
7. Position the phone around 4 inches (12-15cm) away from your mouth. Touch Test and speak into the bottom half of the phone (where the microphone is).
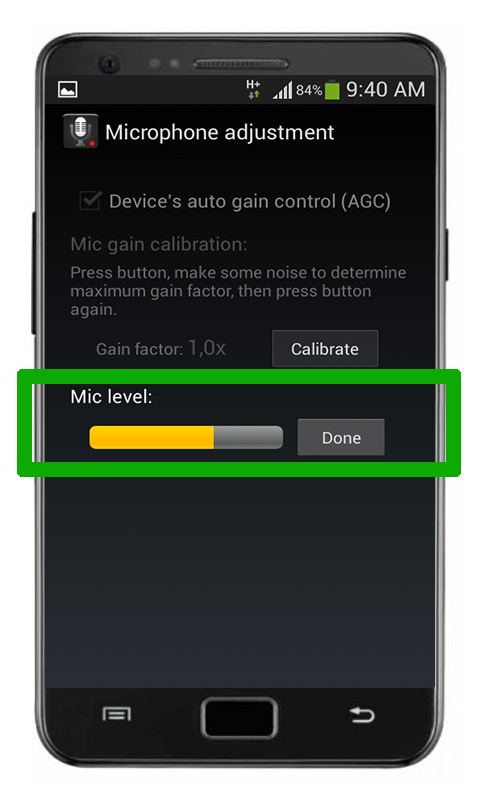
The yellow level meter should never reach the highest point, as this will result in distortion. Try to keep it at around the level indicated above (two thirds of the maximum). If it’s too loud, move back slightly or speak softer.
Advanced: You can also deselect Device’s auto gain control to Calibrate the loudness of your voice.
8. Go back to the main recording screen and hit Record. You’ll be able to see how much recording time remains in your phone’s storage.
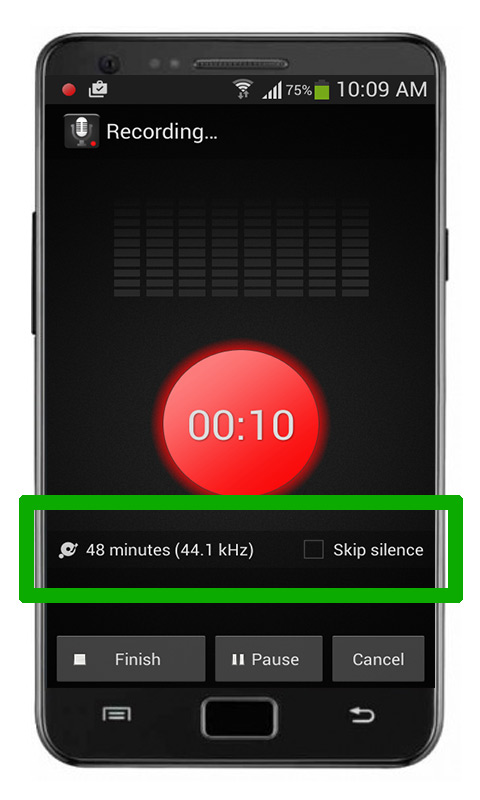
Selecting Skip silence (optional) will automatically remove stretches of silence between takes, also reducing file size.
Naming Files
Name your files before you send them. This reduces overall turnaround time for your walk and makes things easier for your editor. Give each file the same name as each location on your route. Add sequential numbers for each recording take, for example, “Introduction to Cape Town 01” and “Introduction to Cape Town 02”.
Sending Files
To send files to your editor after recording with Smart Audio Recorder, follow these steps.
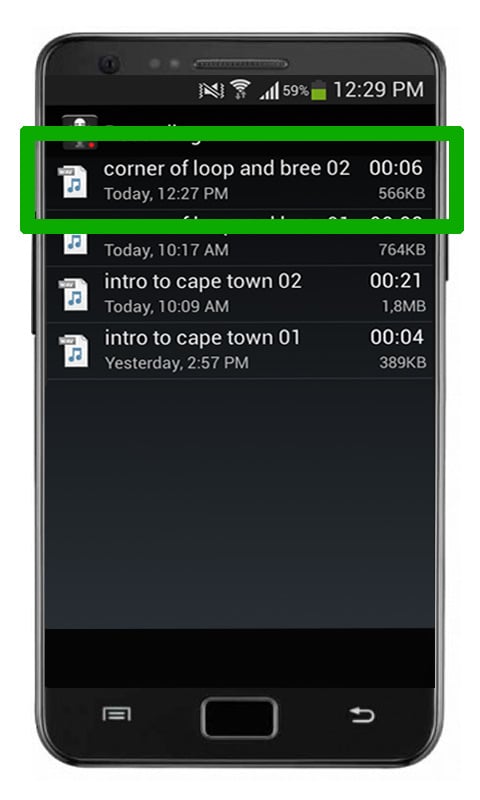
1. Select the file you have just recorded and renamed by touching it and holding down your finger.
2. In the pop-up menu, touch Share.
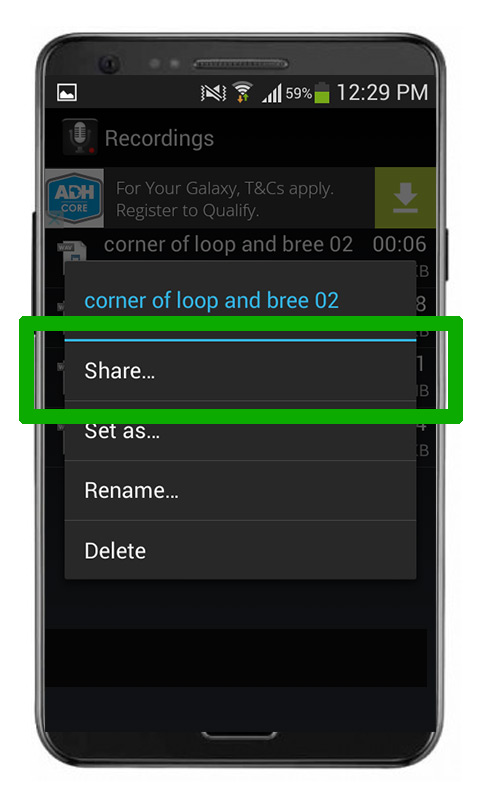
Select Gmail or your email provider to automatically attach the file to an email draft.
Storage Space
Depending on the length of your route, you might be required to record up to two hours of audio. Each hour of CD quality audio takes up roughly 360mb of space. If your phone lacks the storage capacity, copy the files to a computer or email them to your editor before deleting the original file to free up space. If this is not an option for some reason, then repeat Step 4 (above) and reduce the Sample rate to 22kHz (FM Radio quality).
Recording Tips
When you’re ready to move onto the recording stage, your editor will request a short audio sample. They’ll be able to give you feedback to help you create great audio, before giving you the go-ahead to record the entire script. Below are some tips you can use to get the best recording.
Avoid recording in a room with any background noise or sounds. Microphones pick up sounds indiscriminately, and what you think sounds quiet might be distractingly loud to the listener.
- Keep the phone about 4 inches from your mouth at all times. Holding it in your hand while you record often creates shuffling sounds. Ideally, mount the phone on a box or pile of books at mouth-level.
- If you do have to hold it, make sure it always remains the same distance from your mouth and avoid moving your hand while you’re talking. Also, ensure that your hand is not covering the microphone at any point.
- Avoid speaking too loudly into the microphone – it causes distortion. It’s far easier to fix quiet audio than distorted audio.
- Try not to speak directly into the microphone, but at a slight angle. This helps alleviate pops and plosives when saying words with “p” or “b”.
- You can minimize reverberation by facing the curtains or wardrobe. Clap your hands as a test. The best recording environments sound dead, and the worst ones (tiled bathrooms or small spaces) echo. The best method involves setting up a blanket between two chairs, to make a very handy DIY vocal booth. It might look silly, but it works very well!
- If you stumble, hesitate, cough or feel you could do better, just say “repeat” so the editors know where your errors are. Repeat from the beginning of the sentence or paragraph. Even the smallest mistakes and hesitations often stand out in a recording.
- Try to sound natural, like you’re having a conversation with a friend. Pause between paragraphs. It’s easy for us to shorten silences in the edits, but if it sounds rushed there’s little we can do. And remember to have fun!
I’m so glad I found your blog. You’ve made it do very simple and easy for someone like me who is not at all computer savvy..The app is amazing and has made a world of difference with the quality and clarify of sound
Thank you
De mic level is not working on my own
Ok, but what If I Record a video with My smartphone about myself playing The piano, and The phone is 2-3 Meters away from me? Do these settings apply?